Hey there, future bloggers!
This post is all about how to start a blog for beginners!
Are you ready to dive into the exciting blogging world and make money blogging?
You may think it will be too hard or worry that you need more followers to read your blog.
Don’t worry! Every blogger started from the same place you are right now!
In this easy-to-follow guide, we’ll walk you through each step to help you launch your blog and start your blog journey!
THIS IS WHAT WE COVER IN THIS POST
Step 1: Choose Your Blogging Niche
Step 2: Select a Blogging Platform
Step 3: Pick a Domain Name
Step 4: Get Web Hosting
Step 5: Install WordPress and Customize Your Blog
Step 6: Create Compelling Content
Step 7: Customize and Launch Your Blog
Step 1: Choose Your Blogging Niche
First things first, decide what your blog will be about.
Could you ask yourself what you are passionate about? Is it travel, fashion, food, personal finance, or something unique? Pick a niche that sparks your interest and resonates with your target audience. Check 8 MOST PROFITABLE BLOG NICHES
for more ideas if you want to brainstorm.
Find a sweet spot that overlaps the three things: that’s your niche.
- Something you are passionate about
- Something you know a lot about
- Something you have some skills about
Be specific. Set a clear vision for your audience. But remember to enjoy writing. If you are writing about what you know and are passionate about, that will come through to your readers.
Step 2: Select a Blogging Platform
The blogging platform is where you create your blog content and all other info you want to include in your blog.
Many platforms are available, and many of them come with a website.
For beginners, we recommend using WordPress. WordPress is the most commonly used blogging platform. It’s user-friendly and offers countless customizable options. Plus, you can be something other than a tech wizard to get started. You can create a blog that looks professional and suits your style. The best thing is that it’s free to use, and you’ll have complete control over your blog.
Step 3: Get Web Hosting
Web hosting is where your blog’s files are stored. Consider it the foundation of your online space. Look for a reliable hosting provider, like Bluehost, and choose a plan that suits your needs and budget. Web Host will make your blog come alive.
Step 4: Install WordPress and Customize Your Blog
Most hosting providers offer one-click installations for WordPress. Especially, Bluehost, an official WordPress recommended hosting provider, has more effortless than ever web hosting packages and customer service to help you start your WordPress blog seamlessly.
Click here to head to Bluehost and hit the “Get Started” button.
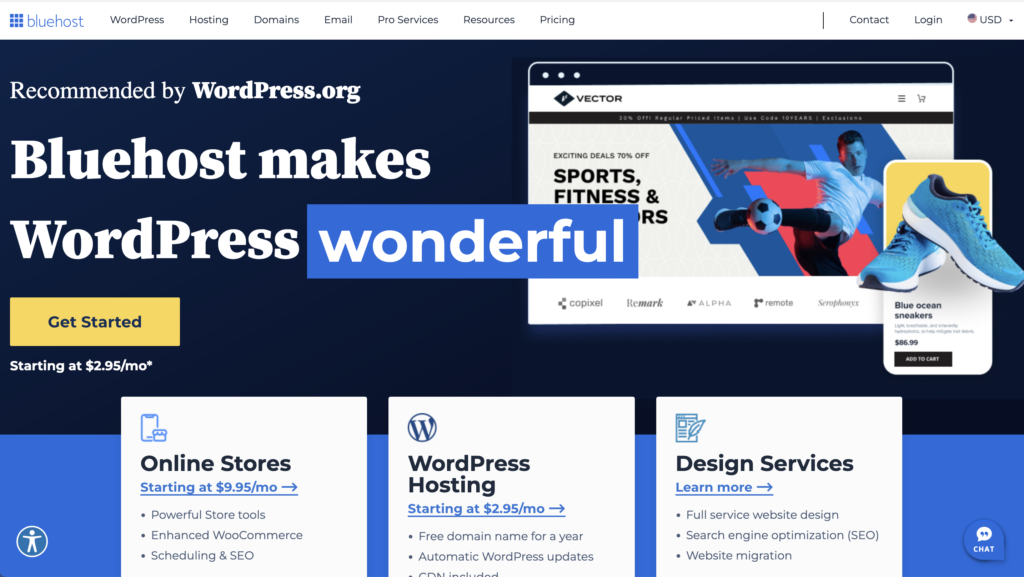
Bluehost and WordPress are like peanut butter and jelly, salt and pepper, ketchup, and mastered; they work together well.
Most packages have the following:
- Free Domain Name for one year.
- Free SSL Certificate included
- One-click WordPress Installation
- 24H live expert support
- 30-day money-back guarantee
First, select the web hosting package you’d like.
We recommend that you start with the basic package because you can always upgrade if you need to. But in the beginning, you will only need a few options.
It’s often a lot cheaper to buy a two or 3-year plan. If you have decided to start a blog, this blog will likely stay. If you can afford it now, buying a more extended plan is a good idea that will eventually save you money.
Step 5: Pick a Domain Name
Your domain name is your blog’s address on the internet. Choose a name that’s memorable, relevant to your niche, and easy to spell. It’s like choosing a name for your virtual home.
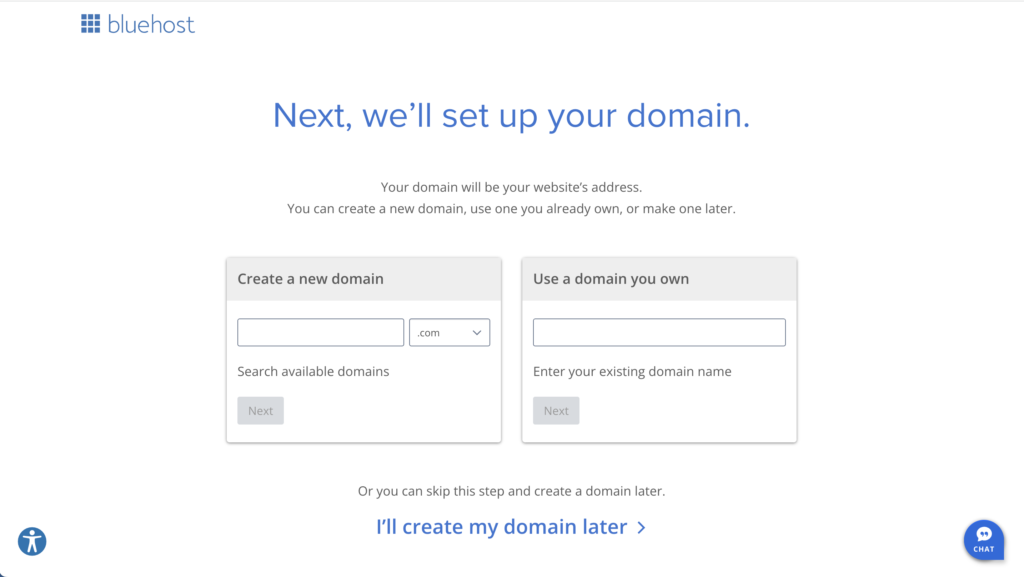
If you aren’t sure about the domain name, click “I’ll create my domain later.”
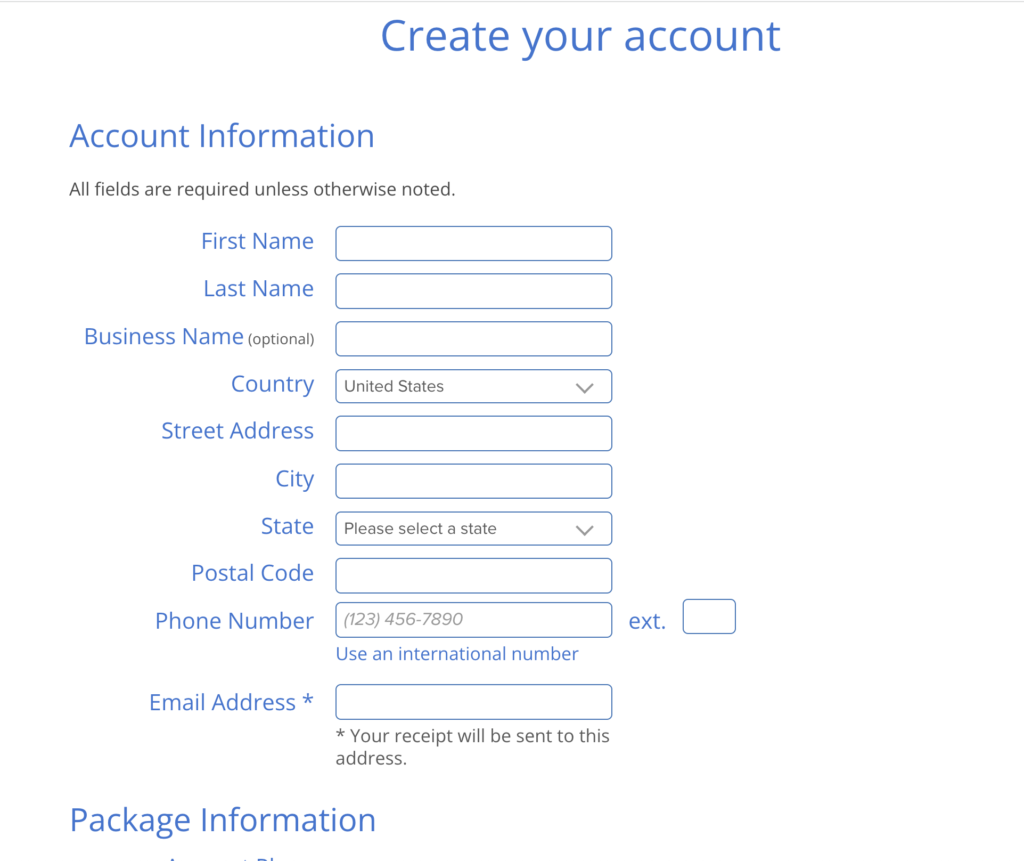
Now, create your Bluehost account.
You can either sign in with Google or enter your contact information manually.
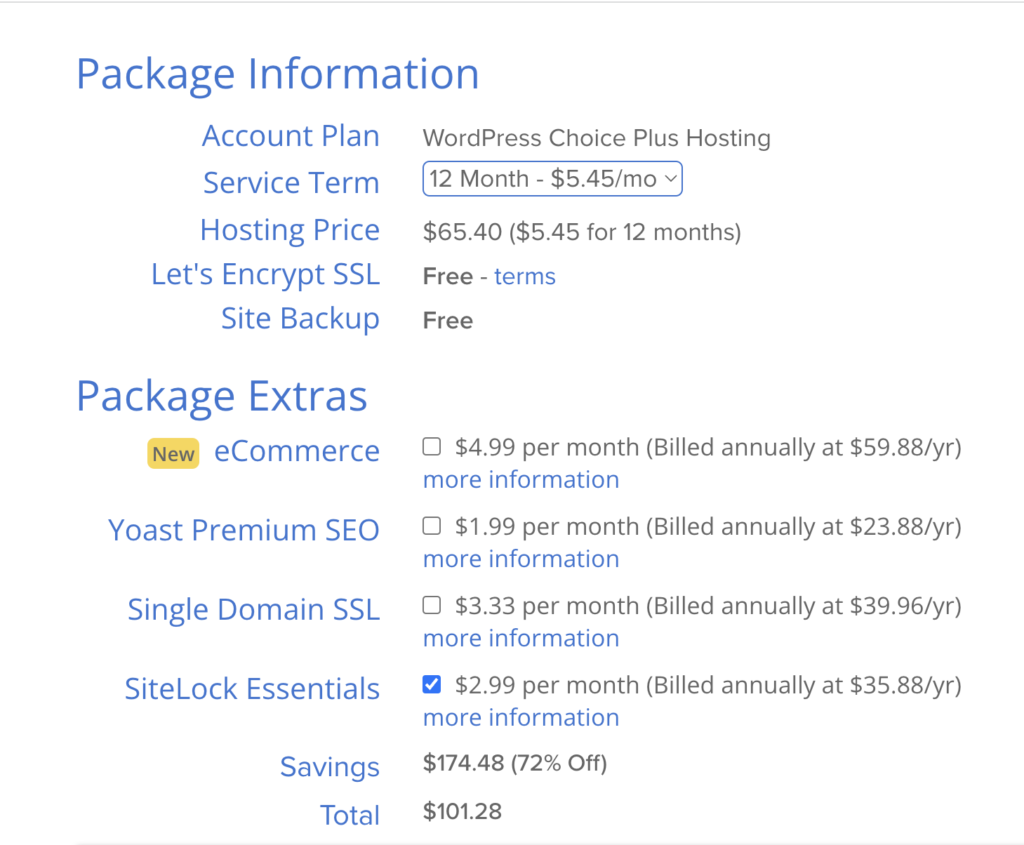
Once completed, confirm your package/plan information.
As I mentioned, it turns out cheaper and saves more money if you sign up with longer terms since it comes with a 30-day money-back guarantee, which will be no risk for signing up.
You may want to keep “Domain Privacy Protection” from Package Extras, but most are unnecessary now. If you decide not to have these extras, uncheck the boxes.
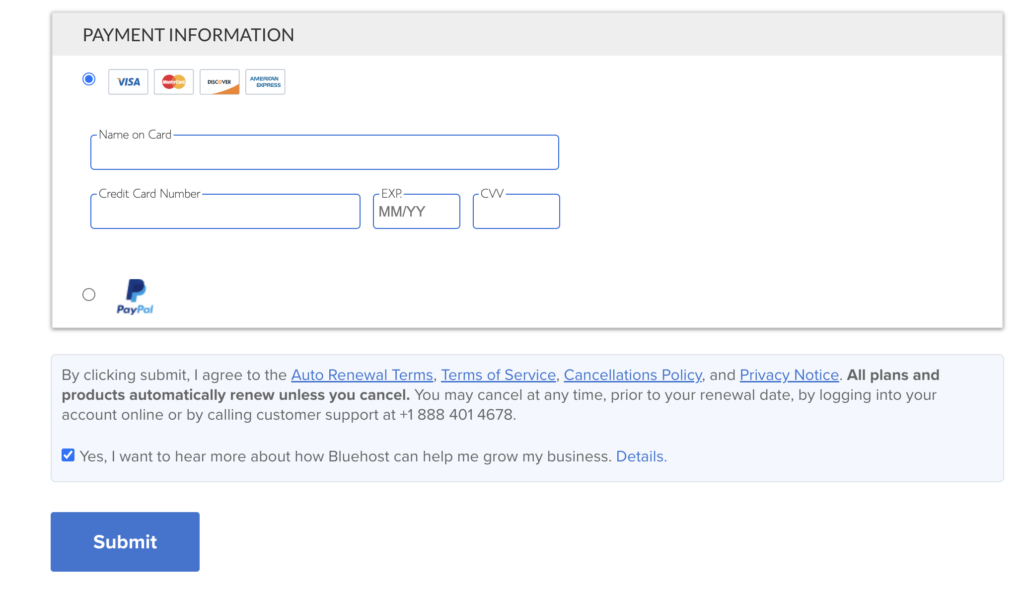
Complete your hosting purchase and press the “Submit” button!
Create a password for your Bluehost account.
This is the password for your Bluehost account. You will receive your WordPress blog information via email.
Log into your Bluehost account.
You can use the password you just created and log into your account.
You can give your blog a name and tagline.
Toggle on the switch next to “Do you want a blog?”
If you need to, you can change these settings later.
Once set up, you can select a theme that fits your niche and customize it to make your blog visually appealing and unique.
There are free themes and paid themes. You can browse which piece may fit your blog. You can choose a free theme for now and change it later.
Step 6: Create Compelling Content with WordPress
Now comes the fun part – creating content! Write blog posts that inform, entertain, or inspire your readers. Make sure your writing reflects your personality and expertise. Quality content is critical to attracting and retaining an audience.
THINGS TO REMEMBER;
- Bluehost login details: to manage your hosting account and related settings, pay hosting bills.
- WordPress login details: access the WordPress admin area to write and manage your blog posts.
First, browse each menu to get used to the platform, and start changing the setting as you wish.
Step 7: Customize and Launch Your Blog.
- Theme
Go to Appearance > Themes > Add New
Search and choose your theme for the blog.
Many of them use Astra themes or OceanWP. As you set up your blog, you will notice that specific settings are only available for that theme. You can change your theme according to what you want to customize on your blog.
2. Customize
Go to Appearance > Themes > Customize
You can modify, design, and change your site’s settings, layouts, logo, etc. Checking your modification using a live preview helps to design your blog before launching it.
3. Write Your First Blog Post
On the WordPress dashboard, from the menu on the left,
Go to Post> Add New
Now you create a new post where you can write your first post.
You can edit your blog post anytime, so don’t worry too much about making mistakes for the first post.
4. Add Pages to Your Blog
Make sure to add essential pages for your blog, such as About, Contact, Privacy Policy, Disclaimer, and Terms of Service.
Go to Pages > Add New.
It seems to be a lot to do at first, but once it’s done, you are ready to build your blog!
Congratulations! You did it! You started your blog!
Now, it’s time to build your blogging journey!


